
Using a wired keyboard has its benefits but going for a wireless one is chic and easier! It’s not always necessary to buy a wireless keyboard if you don’t want to invest in it.
Instead, if you want to hate the wires, you can simply learn how to make a USB keyboard wireless in a few easy steps!
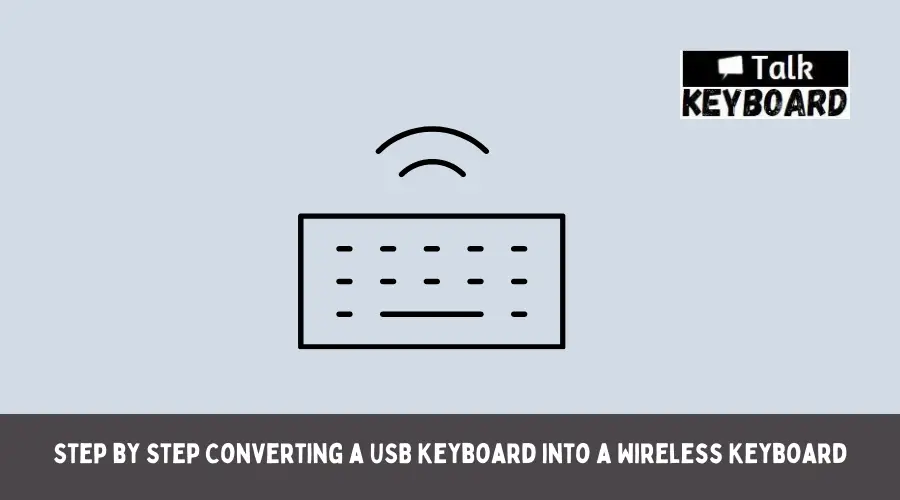
Step by Step Converting a USB Keyboard into a Wireless Keyboard
Here are some steps that will help you learn about how to make a USB keyboard wireless. All you need is two radio transmitters, two micro-controllers, and the will to make it work! Check out the method- it’s easy!
Step 1: Turning Computer Off
Whenever it comes to converting your USB keyboard into a wireless keyboard, you have to start with the computer first. Get your hands on your PC.
All you need is to turn it off. If it is switched on, you cannot move on with the process. After turning off the PC, you can move to the next step.
Step 2: Removing the USB Keyboard
Well, now that the computer is turned off, your job is to get your hands on the keyboard. As you are making it wireless, the first thing you need to make sure is the keyboard is turned off.
For this, remove the keyboard. It is a USB keyboard, so, you need to remove the cord from the port of your computer.
Step 3: Adding the First Micro-Controller
So, the keyboard is removed and the computer is switched off. Here, you have to start working with the micro-controller. First of all, your job is to connect it to the USB port of your keyboard. There are available brands that are famous for their micro-controller.
Certify that you are relying on a good brand. While picking up a micro-controller, you need to ensure that it is capable of being powered by an internal battery. Along with this, the micro-controller should be USB compatible.
Be very careful when you buy it as it must be loaded with USB protocol. In other cases, you can load the USB protocol manually. No matter what, make sure it has the USB protocol facilities added.
Step 4: Adjusting the First Radio Transmitter
Once you are done with adding the micro-controller, you have to move your attention to the radio transmitter. It’s time to add the transmitter to your added micro-controller. In this position, you must certify that the controller is already added to your keyboard.
These two devices have designated interfaces and this helps in the proper connection. While picking up the transmitter, you must get the one that is configured to transmit at the rate of 433.92 MHz The well-known brands will afford you a good radio transmitter for the job, get any of them.
Another thing you need to worry about is the power option of the radio transmitter. It must have an internal battery as we are not dealing with any wire in this method.
Step 5: Adding the Second Micro-Controller
You have already added the micro-controller to your keyboard in the previous step. In this position, you have to work on the second micro-controller.
However, you don’t need to add the micro-controller to your keyboard this time. In this step, you need to get your hands on the micro-controller and add it to the USB port of your PC.
The micro-controller that you are adding in this step can have an internal battery. Or else, you can also get the one that is powered by an external power. You don’t need to worry about the power option much here.
Step 6: Adjusting the Second Radio Transmitter
The job of the first radio transmitter is done. It’s time we move to the second radio transmitter. Just the way we have added the first radio transmitter to the first micro-controller, you have to go for the second one.
All you need is to get the second transmitter and add it to the second micro-controller. As the second microcontroller is added to the USB port of the PC already, all you have to do is add the transmitter with this one.
Once again, here, you have your free will about the power options for this one. While you buy it, you can focus on the one that has an internal battery.
Or you can also go for the one that requires external power. But no matter what, you should always get the transmitter that is capable of transmitting at the rate of 433.92 MHz
Step 7: Turning on the Added Devices
In this position, you are ready with your devices. Firstly, the micro-controllers are added to their position. Secondly, the radio transmitters are also adjusted with the controllers. Both the first batch and the second batch are in the right position.
It’s time to turn them on. First of all, you have to get your hands on the microcontrollers and turn them on. And then, check the radio transmitters and switch them on too.
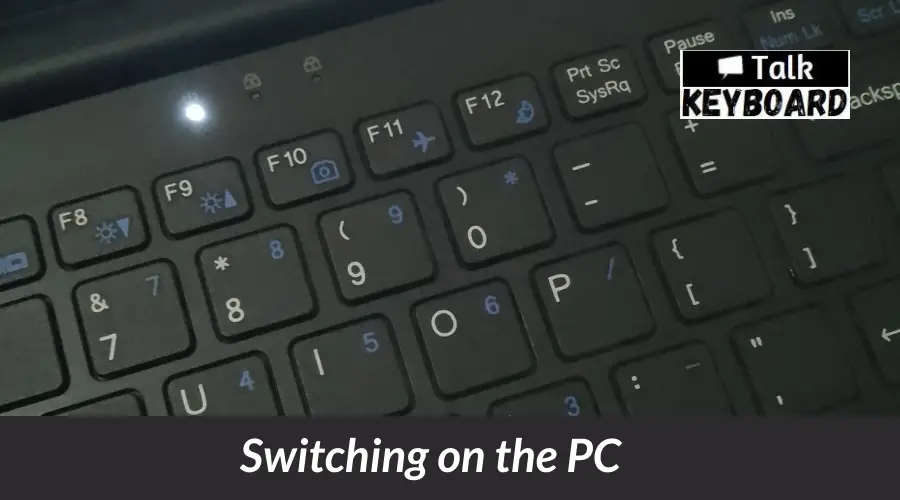
Step 8: Switching on the PC
Do you remember that you have switched off the PC in the first step? Well, now, you have to switch it on! Go for the power button of the PC and switch it on. Don’t forget to restart the PC after you switch it on.
Step 9: Working with the Keyboard
The keyboard is ready for use. Just the way you used to work with the wired keyboard, you can now use the wireless one that you have created!
After you have restarted the computer, you will see that the wireless keyboard will start working. This process works automatically. At times, you might require loading drivers by the operating systems.
If you see this notification, make sure you use the CD or the device drivers to load them. These will come with the keyboard. Don’t worry because the drivers here are the same as before.
Wrap Up
Who says you cannot make a wireless keyboard out of a wired one? You can follow the steps and the keyboard will be wireless and fun! However, make sure you buy the right microcontrollers and the radio transmitters here. The numbers are important, always!

I am a regular user of computer keyboards. For using keyboard face different kinds of problems and also solve it very easily. I love sharing knowledge about keyboards.