
The top rows of a keyboard allow easier and faster access to control many hardware features. You can adjust the screen brightness, turn on or off the airplane mode, take screenshots, adjust the speaker volume, and many more. When the keyboard’s top row not working properly, you must be worried.
Thankfully, sorting out the problem is not a big deal. Whether you are a Windows or Mac user, some common fixations are cleaning the keys thoroughly and restarting the device.
Continue reading to understand the ways to solve function keys not responding.
How to Fix Keyboard Top Row Not Working – Common Solution for Both Windows and Mac Users
These troubleshooting hacks are suitable for both Windows and Mac users.
1. Clean Dirt & Grime from Your Keyboard
Are certain keys of the top row working? If yes, it might be a sign of dirt and grime buildup. Ask yourself, when did you clean the keyboard? If the last cleaning is done many days before, enough dirt can form inside the keyboard, stopping its normal functionalities.
Happily, cleaning a keyboard is effortless. You can do it yourself by using the correct tools. Moreover, consider following the below quick fixes if the keyboard is connected to your desktop or laptop.
- Disconnect and reconnect the keyboard.
- Are you using a Bluetooth keyboard? If yes, dismantle the battery, and wait 4-5 minutes. Next, assemble the battery again and check whether the keyboard’s top row works.
- Connect your keyboard to another desktop or laptop. Check whether the Fn keys are responding or not.
2. Restart Your PC or Mac
This is a quick hack for the problem of my keyboard top row not working. Sometimes, a simple restart of your device can solve the issue easily. If a minor glitch causes the problem, it is efficient and effective enough to resolve the complication.
How to Fix Keyboard Top Row Not Working for Windows Users?
If you are a Windows user and getting zero response from the top row or function keys, the tips below might be helpful.
1. Run Troubleshooters for Hardware and Devices
For newer Windows versions, accessing Hardware and device troubleshooter is done by commanding a line. Below are the steps to do so,
Step 01: Go to the “Search Bar” of the Start menu. Now, look for “Command Prompt” and choose the “Best Match.”
Step 02: In the command prompt, type below.
msdt.exe -id DeviceDiagnostic
Step 03: Hit “Enter,” and a window will appear. This window is the Hardware and Devices troubleshooter. Now, the troubleshooting process will start once you click Next.
2. Run Troubleshooters for the Keyboard
Is the problem fixed after running the Hardware and Device troubleshooter? If not, then follow this method. I will use the Windows tool for it; access can be done via Settings.
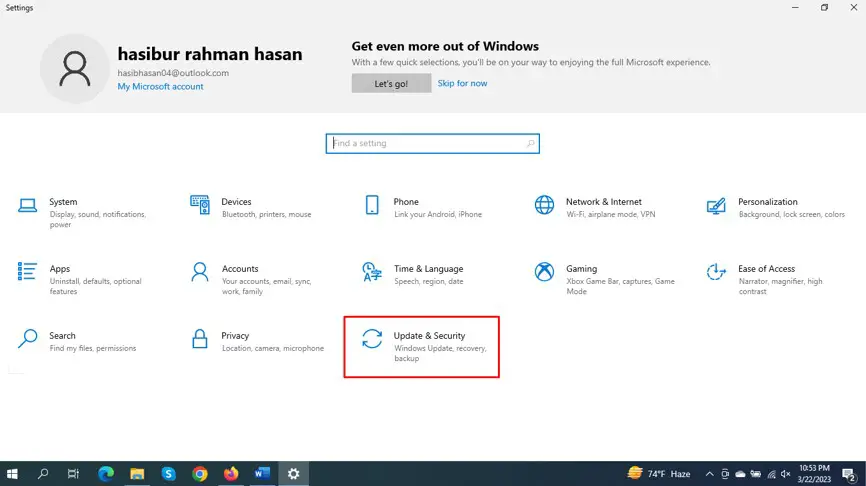
Step 01: Open Setting. Then choose Update & Security
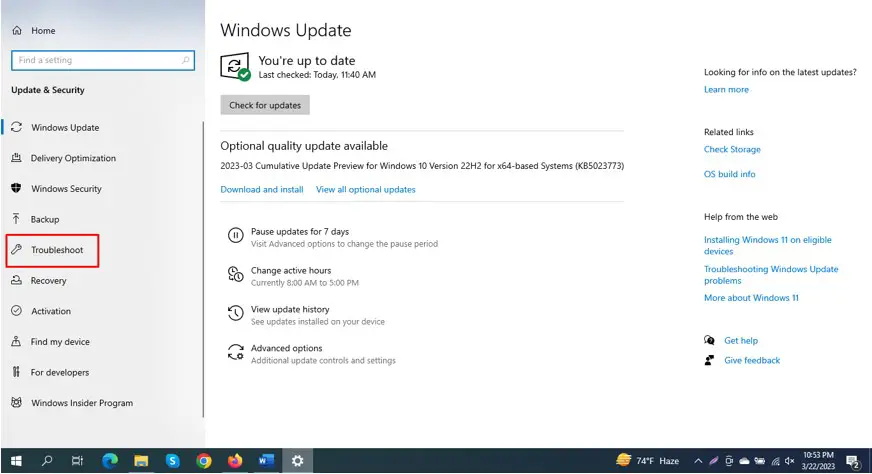
Step 02: Find out Troubleshoot option from the left panel
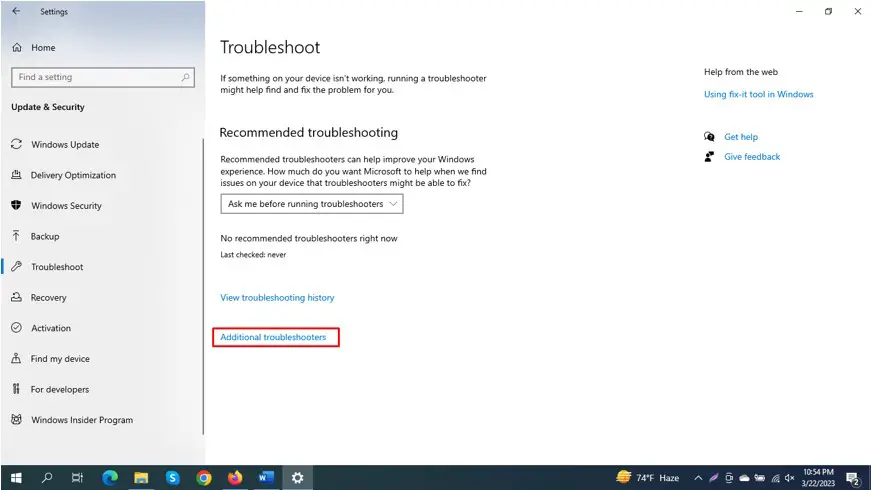
Step 03: Select Additional Troubleshooters
Step 04: Look for the section named Find and Fix other Problems. From this section, left-click Keyboard > Run the Troubleshooter.

3. Turn the Filter Keys Off
The responsibility of Filter Keys is to prevent repeated keystrokes. Disabling this feature can positively impact the functionalities of top-row keys. Here are the steps regarding how to disable Filter Keys.
Step 01: Open Control Panel
Step 02: Select View By. Then choose Small Icons and Large Icons.
Step 03: Hover your mouse on the Ease of Access Center and click it.
Step 04: Look for an option called “Make the Keyboard Easier to Use” listed in the Explore All Settings section.
Step 05: You will see a section named Make it Easier to Type. From there, disable the Turn on Filter Keys by unchecking them.
Step 06: Save your changes by clicking Apply > OK
4. Keyboard Drivers Updating
The corrupted, damaged, or outdated driver might be another reason for keyboard function keys not working. I recommend you update the keyboard driver to resolve the problem. Follow the below steps carefully.
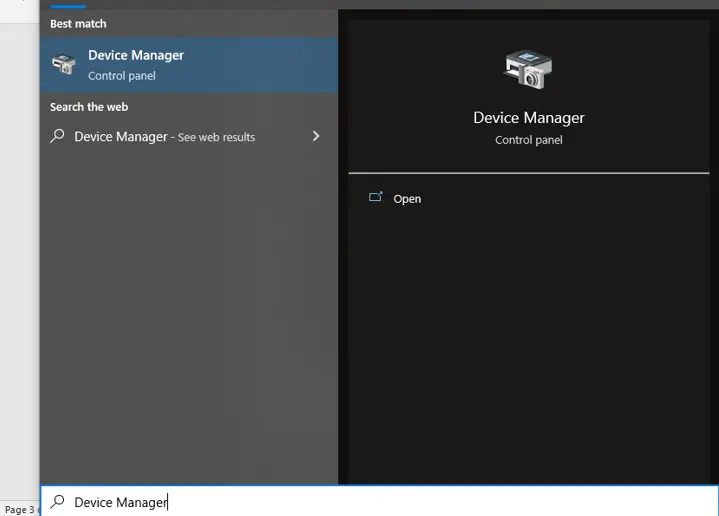
Step 01: Type Device Manager on the Search box and click it.
Step 02: The Keyboard list needs to be extended.
Step 03: Right-click the driver to select Update Driver
Step 04: Look for a section named Search Automatically for Drivers. After finding the section, click Start. This way, the Keyboard Driver will get updated.
How to Fix Keyboard Top Row Not Working for Mac Users?
When the top row is not working as expected, it might frustrate you as you are already habituated to these keys. Let’s solve the problem following the fixations below if you face this complication.
1. Turn off the Slow Key
The Slow Key is one of the Accessibility features. It creates a delay when any key is pressed on the Mac. This key can disable the functionalities of the top-row keys. To turn it off, here are the steps.
For macOS Ventura and Later,
Step 01: Go to Apple Logo > System Settings
Step 02: Select Accessibility > Keyboard
Step 03: You will find the Slow Key enabled. Disable it. Turn the Sticky Keys also off.
For macOS Monterey and Earlier,
Step 01: Go to Apple Logo > System Preference
Step 02: Select Accessibility > Keyboard
Step 03: Then, find out the Hardware Tab on Keyboard settings. Next, remove the tick mark from the box named Enable Slow Keys by unchecking it.
2. Check Function Key Binding
Function key binding is an effective method to fix the top row not working complication. Here is what you need to do.
For macOS Ventura and Later,
Step 01: Click Apple Logo > System Settings
Step 02: Select Keyboard. Intently looking at the right side for a menu named Press Fn Key. From this menu, select Keyboard Shortcuts.
Step 03: Then choose Modifiers Keys > Function (Fn) Key
Step 04: Click on the preferable Key (Suppose Command) > Done appears in the dropdown menu.
For macOS Monterey and earlier,
Step 01: Click Apple Logo > System Settings
Step 02: Choose Keyboard > Keyboard Tab
Step 03: Look at the bottom right corner of the Keyboard tab. Select Modifiers Key
Step 04: Click the dropdown of the Function (fn) key. Next Desired Key (Suppose Command) > OK.
3. Disconnect and Reconnect the Mac
If the volume controllers, brightness, mission control, etc., are not working, I strongly recommend you disconnect and reconnect the Mac computer. Following the below steps will be helpful.
For macOS and later,
Step 01: Go to Apple Logo > System Settings > Bluetooth
Step 02: You will see a list. Look for the Magic Keyboard option. Once identified, click on Disconnect.
For macOS Monterey and earlier,
Step 01: Go to Apple Logo > System Preferences > Bluetooth
Step 02: You will see a list. Look for the Magic Keyboard option. Once identified, click on the X icon.
4. Check for Problems in the Hardware
Are you still facing problems after performing all the above fixations? If yes, then it is confirmed that the problem is with the hardware.
Visit your nearest Apple store along with the keyboard and ask for repair. On the other hand, if the keyboard comes under warranty, ask for a replacement.
Final Words
That’s it! The top row keys are designed to complete a few essential tasks like volume up and down, brightness controlling play and pause, search option, etc.
If the keyboard top row not working issue is solved after performing all the above troubleshoots, I suggest you go to the nearest service center. Then do the needful.

I am a regular user of computer keyboards. For using keyboard face different kinds of problems and also solve it very easily. I love sharing knowledge about keyboards.