
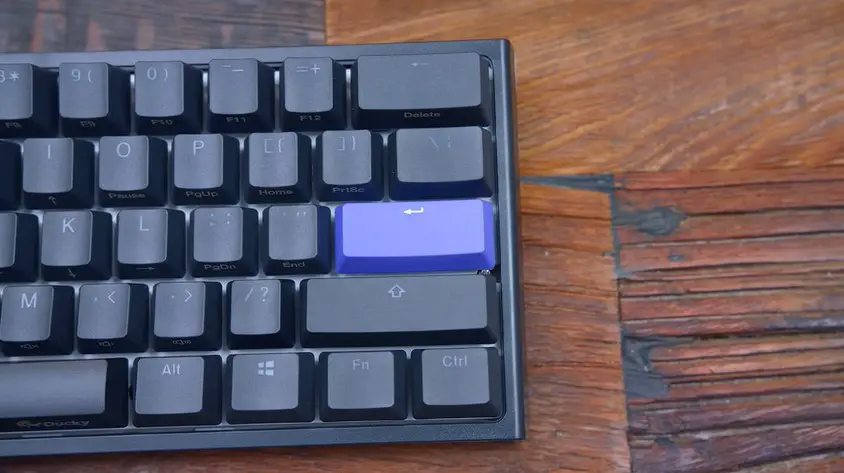
The Ducky One 2 Mini RGB keyboard is a compact and highly popular mechanical keyboard known for its customizable RGB lighting.
This keyboard has a solid following among gamers and tippers because of its stylish design and high-quality construction.
RGB lighting adds a touch of personalization and flair to your keyboard, allowing you to create a visually appealing setup that matches your style and preferences.
In this article, we will explore the various Ducky One 2 Mini RGB settings and how you can easily customize the lighting effects to make your keyboard genuinely unique.
Whether you’re a gamer or want to add visual charm to your workspace, read on to discover the exciting possibilities of Ducky One 2 Mini RGB settings.
Understanding the Ducky One 2 Mini RGB Keyboard
Before we dive into the exciting world of Ducky One 2 Mini RGB settings, let’s take a moment to understand the keyboard itself.
The Ducky One 2 Mini RGB is a compact keyboard that packs a punch. Its small form makes it perfect for gamers and typists who value space-saving designs without compromising functionality.
What sets the Ducky One 2 Mini RGB apart is its unique RGB lighting system. Each keycap is individually backlit, allowing you to customize the lighting of every single key.
This means you can create unique lighting effects, colour combinations, and patterns to suit your mood or gaming setup.
With the Ducky One 2 Mini RGB settings, you can unleash your creativity and personalize your keyboard like never before.
Let’s explore how you can make the most out of these settings in the upcoming sections.
Getting Started with Ducky One 2 Mini RGB Settings
Now that you have your Ducky One 2 Mini RGB keyboard in front of you, it’s time to dive into the exciting world of customization.
Let’s begin with the steps to get started with your Ducky One 2 Mini RGB settings.
Unboxing and Setting Up
When unboxing your keyboard, ensure that all the components are present. Plug in the other end of the keyboard and connect your PC using the USB cable.
Once connected, your keyboard should light up, indicating it’s ready.
Visit the Ducky Website
Open your web browser and go to the official Ducky website. Look for the “Support” or “Downloads” section.
Download the Ducky Software
Locate the software download section and find the software compatible with your operating system (Windows or macOS). To begin the download procedure, click the download link.
Install the Software
Once the download is complete, locate the downloaded file on your computer and run the installer. To install the software, adhere to the on-screen directions. After the installation, you should see the Ducky software icon on your desktop or in your applications folder.
Connect the Keyboard
Use the included USB connector to connect your Ducky One 2 Mini RGB keyboard to your PC. Make sure the keyboard is turned on and connected correctly.
Launch the Ducky Software
Double-click on the Ducky software icon to launch the program. The software should automatically detect your connected Ducky One 2 Mini RGB keyboard.
Check for Firmware Updates
In the Ducky software, look for a section or option related to firmware updates. Click on it to check for any available updates for your keyboard’s firmware.
If updates are available, follow the instructions provided by the software to install them. Firmware updates can enhance performance, fix bugs, and introduce new features.
Explore the Software Interface
Take some time to familiarize yourself with the Ducky software interface. Various tabs and settings allow you to customize your keyboard’s RGB lighting, create profiles, and more. Spend some time exploring the options and features available to you.
By following these steps, you can ensure that your Ducky One 2 Mini RGB keyboard is equipped with the latest firmware updates and ready to unleash its full potential.
Now that you have the software installed and your firmware updated, you’re all set to dive into the exciting world of Ducky One 2 Mini RGB settings and make your keyboard unique.
Creating Custom Lighting Profiles
One of the exciting features of the Ducky One 2 Mini RGB keyboard is the ability to create custom lighting profiles.
This means you can design unique lighting effects and colour combinations that reflect your style. Let’s walk through the process of creating your lighting profile step by step.
Choosing a Profile Name
Start by giving your profile a descriptive and memorable name. This will help you quickly identify and select it later.
Selecting Desired Lighting Effects
Dive into the world of lighting effects and choose the ones that captivate you the most. You can opt for a single effect, such as a static colour or breathing mode, or combine multiple effects to create a dynamic lighting experience.
Configuring Color Options
Experiment with colour combinations to find the perfect palette for your custom lighting profile. Whether you prefer vibrant and bold colours or subtle and soothing tones, the choice is yours.
Saving and Applying the New Profile
Once you’re satisfied with your custom lighting profile, don’t forget to save it. The Ducky software typically provides a “Save” or “Apply” button to store your settings.
Once saved, you can easily switch between different profiles whenever you want a change of ambiance.
By creating custom lighting profiles, you can personalize your Ducky One 2 Mini RGB keyboard to match your mood, gaming setup, or even the game you’re playing. Don’t be afraid to experiment, and let your creativity shine.
Advanced Customization Options
If you’re ready to take your Ducky One 2 Mini RGB settings to the next level, this section is for you.
Let’s explore some advanced customization options that will allow you to create even more impressive lighting effects and integrate them with macros and key binds.
Exploring More Intricate Lighting Effects
The Ducky One 2 Mini RGB keyboard offers a variety of intricate lighting effects that can elevate your keyboard’s aesthetics. Here are a few examples:
- Reactive Typing: With reactive typing, each key you press will light up momentarily, creating a stunning visual effect as you type.
- Ripple Effect: The ripple effect produces a ripple of light that expands from the key you press, adding a dynamic and immersive element to your keyboard’s lighting.
- Breathing Mode: Breathing mode mimics a breath’s gentle rise and fall, creating a soothing and subtle lighting effect.
Explore these effects in the Ducky software to find the ones that resonate with you.
Integrating Lighting with Macros and Keybinds
The Ducky One 2 Mini RGB keyboard allows you to synchronize lighting effects with your macros and key binds, enhancing your gaming or productivity experience. For example:
- Syncing Lighting Effects with Keypresses: You can set your keyboard to display specific lighting effects when certain keys are pressed, helping you keep track of essential actions during gaming or programming.
- Creating Macros with Customized Lighting: Customize your macros with unique lighting effects to distinguish them from regular keypresses visually. This can be particularly useful for complex commands or shortcuts.
You can create a cohesive and immersive experience beyond visual aesthetics by integrating lighting with macros and key binds.
Remember to have fun and experiment with different combinations and settings. The Ducky One 2 Mini RGB keyboard offers endless possibilities to let your creativity shine.
Troubleshooting and Tips
While the Ducky One 2 Mini RGB keyboard is a fantastic device, you may encounter some issues or have questions. Here are a few troubleshooting tips and general advice to help you out:
Common Issues: If you experience any problems with your keyboard, such as unresponsive keys or software glitches, try disconnecting and reconnecting the keyboard, restarting your computer, or reinstalling the Ducky software.
Resetting to Default Settings: Most Ducky keyboards have a reset option if you want to revert your keyboard to its original settings. Refer to the user manual or the Ducky website for instructions specific to your model.
Longevity of RGB Lighting: To maximize the lifespan of your keyboard’s RGB lighting, avoid using high brightness settings for prolonged periods and keep the keyboard clean from dust and debris.
How to change your ducky one 2 mini RGB
FAQ
A: If you experience problems with your keyboard or software, try disconnecting and reconnecting the keyboard, restarting your computer, or reinstalling the Ducky software. These troubleshooting steps often resolve common issues.
A5: Yes, the Ducky software is typically compatible with various operating systems. Visit the Ducky website to ensure you download the correct software version for your specific operating system.
A: To share your custom lighting profiles with the Ducky community, upload them to online platforms or forums where Ducky enthusiasts gather. This way, others can download and enjoy your creative lighting designs.
Conclusion
Congratulations! You’ve reached the end of our guide to Ducky One 2 Mini RGB settings. This article has helped you unlock the full potential of your keyboard and create a personalized lighting experience that suits your style.
With the Ducky One 2 Mini RGB settings, you can transform your keyboard into a captivating centrepiece for your gaming or typing sessions.
So explore the endless possibilities, and let your creativity shine with the Ducky One 2 Mini RGB settings. Happy customizing!

I am a regular user of computer keyboards. For using keyboard face different kinds of problems and also solve it very easily. I love sharing knowledge about keyboards.