
Dust is one of the biggest enemies of electrical devices like keyboards. The Logitech G413 is also no exception. Keeping your Logitech G413 uncleaned for many days will surely reduce its performance. Wondering how to clean Logitech G413 keyboard.
You can follow preventive, deep and super-deep cleaning methods to ensure optimum performance from your board. As we use mechanical keyboards frequently and heavily, dust and dirt accumulate on them easily.
Let’s dive deep.
How to Clean Logitech G413 Keyboard
I will be sharing 3 methods in this section. Red and follow them carefully.
Method 01: Preventive/Simple Cleaning
You must ensure simple/preventive cleaning once a month. If you don’t do so, the smoothness of your Logitech G413 keyboard will be reduced.
Step 01: Unplug the Logitech G413
Since Logitech G413 is a wired keyboard, unplug it from your computer. This way, there will be no accidental keypresses.
Step 02: Start Dusting Off
You will require a rubber air pump in this step. Blow air on the keyboard with the air pump. Debris, crumbs and dust will dislodge easily.
Then, get a soft brush and start cleaning between the keys. Next, turn the keyboard upside-down and shake gently. If there is any loose debris beneath the keycaps, they will come out.
Step 03: Wipe Down the Keyboard Surface
Now, get a soft, lint-free cloth and soak it in water. Squeeze it rigorously and make it a little damp. Wipe off the surface of the keyboard. Pay extra attention to regularly or frequently used keys. After that, use a dry cloth to remove the moisture.
Viola! You have completed the simple or preventive cleaning process of your Logitech G413 keyboard.
Method 02: Deep Cleaning
Deep cleaning is a time-consuming and intensive method. However, after deep cleaning, it guarantees you the best experience working with your keyboard. Follow the below steps.
Step 01: Disconnect the Keyboard
Whether deep cleaning or basic cleaning, disconnecting the keyboard is always crucial. Make sure to unplug your Logitech keyboard to avoid accidental keystrokes.
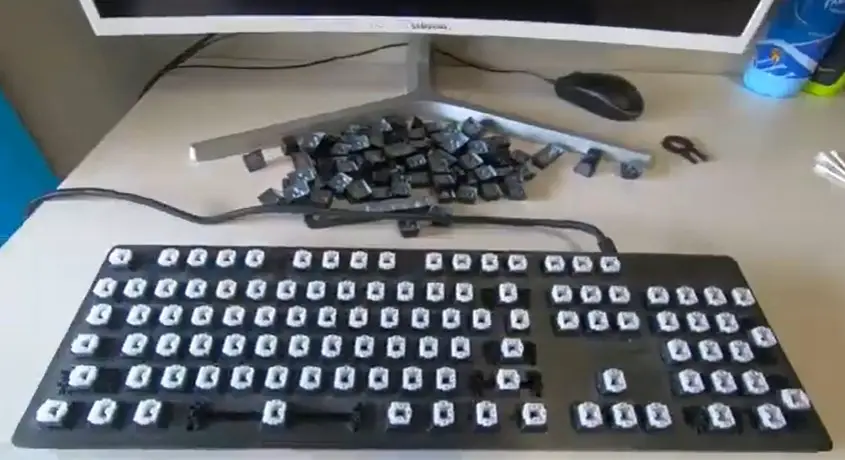
Step 02: Keycaps Removal
Before removing the keycaps, it would always be best to capture an image of the current settings of the keyboard. So do it and get the benefits when reassembling the board.
A keycap puller will come in handy in removing the keycaps. Since Space Bar, Right Shift, Left Shift, Enter, and Backspace are longer keys, removing them is a little challenging. They are assembled with the help of stabilizers. Be careful when removing these keycaps. Pop off one side of these keys and then remove the other side.
Step 03: Washing the Keycaps
Keep the keycaps in a container or large bowl. Pour warm water into the container and prepare a mixture of soapy water. Form foaming by stirring the mixture with your hands. Soak the keycaps and leave for a couple of hours.
Once a few hours are passed, take the keycaps out of the container. Rinse them, placing them under running water. Next, lay them upside-down on a soft towel to dry. Leave them to dry completely.
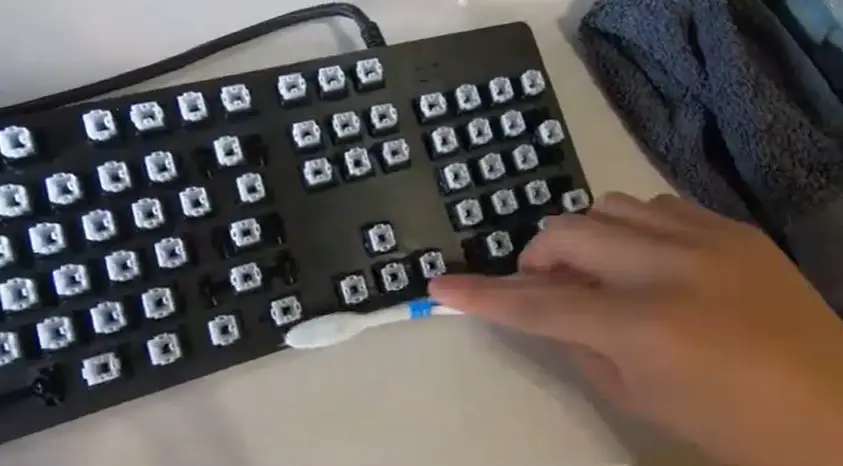
Step 04: Clean Between the Lines
After removing the keycaps, you might have noticed dust and dirt between the lines. Dislodge and remove the accumulated dust and dirt using a brush. A brush will let you clean hard-to-reach areas easily. Moreover, a damp microfiber cloth will be beneficial to wipe off the top plate.
Step 05: Base Cleaning
Dip a microfiber cloth into a soapy mixture and clean the frame and other areas of the keyboard. Make sure to keep the microfiber cloth as damp as possible. This will assist in avoiding water going inside the keyboard. Scrub the areas where stubborn grime has accumulated.
Step 06: Reassemble the Keyboard
Once the top plate, the frame is cleaned and the keycaps are dried, start reassembling. At this time, you can take help from the captured image. Put the keycaps on correctly so you don’t have trouble working with your keyboard after cleaning. Place the keys one by one. Avoid rushing.
Do you know: How To Clean Laptop Keyboard With Compressed Air
Method 03: Deep Cleaning
Did you spill tea or soft drinks on your Logitech G413 keyboard? In this case, the board requires a deep cleaning. Here are the steps for you.
Step 01: Unplug the Keyboard
Avoid pressing any key if you accidentally spill tea, water, or other liquids. Unplug the keyboard from your computer immediately. Otherwise, a short circuit may occur.
Step 02: Take the Keycaps Off
The keycaps need to be taken off without being late. However, it is recommended to be gentle. As mentioned, take a snapshot of the keycap’s placement. It will help you during the reassembling process.
Step 03: Keycaps Washing
Put the keycaps into the soapy-warm water mixture. Leave them in the mixture for a minimum of 1 hour. Then get a soft bristle brush and clean them under running water. Next, lay them upside-down over a soft towel and let air dry.
Step 04: Stain Removal
Remove the stains with a wet microfiber cloth. Run the cloth between the key lines. Alternatively, soak the microfiber cloth into isopropyl alcohol and clean the stains. Isopropyl alcohol is a good option for removing stubborn grime and stains.
Step 05: Super Deep Cleaning
Spills can seep inside the keyboard. In such a situation, you have no other choice except to disassemble the Logitech G413 to ensure super-deep cleaning.
Read the manufacturer’s manual before disassembling. Follow the instructions mentioned in the manual, and take your time to remove the screws. After removing the top plate, you will see the keyboard wires.
Then pour a few drops of isopropyl alcohol on a microfiber cloth and gently clean the mechanical keyboard surface. This way, sticky residue will be cleaned quickly.
Step 06: Reassemble the Keyboard
Once the top plate, frame, and inner portion are cleaned and the keycaps are dried, start reassembling. Take help from the captured image, if required. Install the keycaps correctly so that you don’t face trouble working with your keyboard after cleaning. Place the keys one by one. Avoid rushing.
Related: How To Clean Greasy Keyboard Laptop
Final Words
Learning how to clean Logitech G413 keyboard is essential for optimal performance and longevity. Following the step-by-step cleaning guide, you can easily remove dust, debris, and grime from your keyboard.
Remember to power off your keyboard and use gentle cleaning methods to avoid damaging the keys or the overall functionality. Regular cleaning keeps your keyboard looking sleek and professional and ensures a smooth and enjoyable gaming experience.
So, take the time to clean your Logitech G413 keyboard regularly, and you’ll be rewarded with a pristine and reliable gaming companion for years to come.

I am a regular user of computer keyboards. For using keyboard face different kinds of problems and also solve it very easily. I love sharing knowledge about keyboards.